Android for Toradex Colibri iMX6DL
Introduction
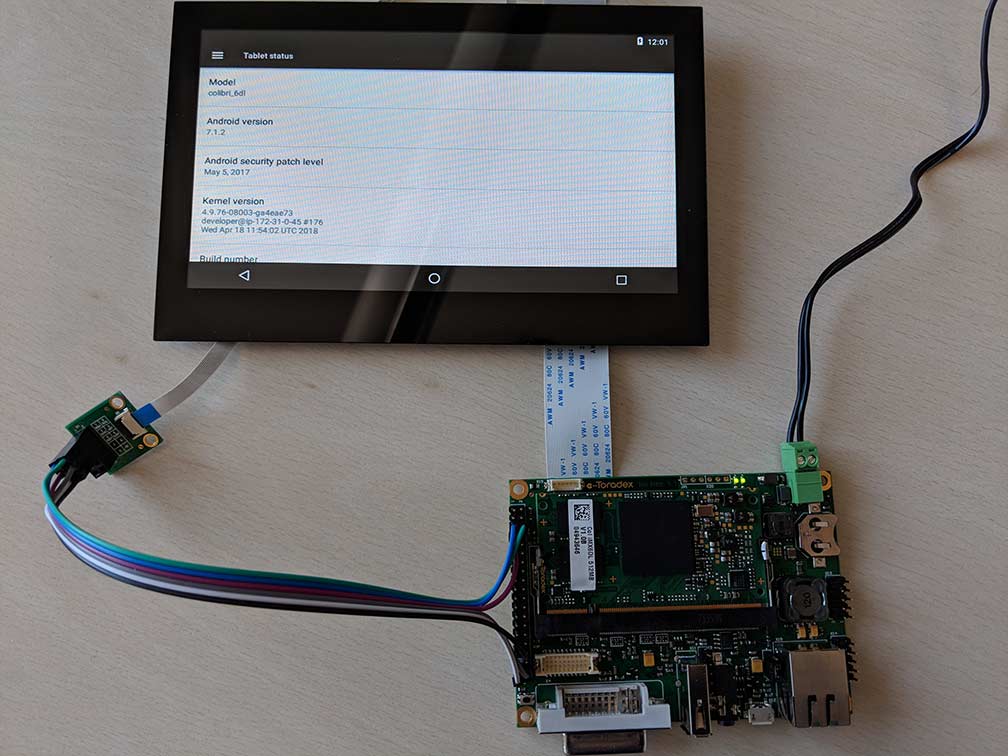
After the release of the vanilla image of Androd Nougat for the Toradex Colibri iMX7D SOM, Kynetics is excited to also release an image of Androd Nougat for the Toradex Colibri iMX6DL SOM.
This is an unsupported release. For commercial support please contact us.
Release Notes
Here are some important remarks about our build:
- Android 7.1.2, U-Boot 2017.03, Linux Kernel 4.9;
- Userdebug build with permissive SELinux and disabled DM-Verity;
- The build is compatible with:
- Colibri IMX6DL eMMC SOM 512MB RAM,
- The Iris carrier board,
- 7" capacitive parallel display from Toradex
- The Iris board DVI port was not tested.
Flash Instructions
We've created a video that walks you through the steps. See farther down this page for information about things like how to put the board in recovery m ode, etc.
Hardware requirements
- The Toradex Colibri IMX6DL eMMC SOM (512MB RAM) connected to the Iris board
- Toradex capacitive display (7")
- Toradex serial cable adapter as per this tutorial
- Micro USB cable
- A host computer running GNU/Linux, MacOS or Windows
Software requirements
- Kynetics Android for Toradex binaries package, can be downloaded from here.
- imx_usb from Boundary Devices to load u-boot in device RAM.
- Android platform tools installed on the host computer. You can download the archive here. Note: we need this archive to acquire the fastboot binary. Alternatively, you can install fastboot via a package manager. In this guide, we will use Ubuntu's package manager.
- On Windows you need also the Google USB Driver available here.
- libusb userspace programming library and development tools.
Now proceed with the following steps:
-
Install fastboot - On Ubuntu:
sudo apt-get install fastboot -y- Alternatively, if you decided to download the platform-tools archive from Google (suggested if host distribution fastboot is too old), you will need to update your PATH environment variable. There are a number of ways to address this, not covered in this guide.
-
Ensure that libusb is installed. You can compile from source, here. Or, alternatively you can download via package manager.
- On Ubuntu:
sudo apt-get update && sudo apt-get install libusb-1.0-0 && sudo apt-get install libusb-1.0-0-dev -y
- On Ubuntu:
-
In the imx_usb_loader-master archive that you downloaded and extracted earlier, do a
makein the root of the folder. This should succeed without error, assuming you have libusb properly installed as noted in 2. You should now see the imx_usb binary in the same folder upon completion of themake. -
Connect to the serial port using the PINs on the Iris board. For more information about connecting to the Iris serial port, see here.
-
Connect also the micro USB port of the board to the host computer.
-
Enter in recovery mode. For information how to enter in recovery mode see the Colibri iMX6DL datasheet here on the section Recovery Mode.
-
Use the imx_usb tool to load, in recovery mode, u-boot.imx which we provided. From the host pc:
$imx_usb /path/to/u-boot.imxas root if necessary.
u-boot.imx is in the Kynetics Android for Toradex package folder.
-
The u-boot console should start (u-boot build number g9829bd4). From the u-boot console start fastboot with the command:
-
=> fastboot 1 -
Note: to fall into the console, you may need to invoke CTRL + C
-
-
From the host pc (as root if needed) from inside the Kynetics folder, run the following commands:
=> fastboot flash gpt partition-table.img=> fastboot flash bootloader u-boot.imx
Note: to fall into the console, you may need to invoke CTRL + C
-
Reset the board: the new u-boot should start (build g9829bd4). From the U-Boot console:
=> env default -a=> saveenv=> mmc partconf 0 1 1 0(needed only on old SOMs that fail boot after running the following res command. Running it anyway causes no harm)=> res(this will restart the board. If the board does not restart, do a power cycle. If the board fails to boot go back to step 7 and, once at step 10 again, run the above command before res).
When the board is restarted, stop the boot loader immediately (pressing space) and at the prompt:
=> fastboot 1
-
In the host pc (as root if needed) from inside the Kynetics Android For Toradex folder, run the following commands:
=> fastboot format device=> fastboot update -w colibri_imx6dl-dev-1.0-alpha0.zip
-
Android should start. If this is the first time the Toradex capacitive display is used, it is necessary to configure the touchscreen.
Configure the touch controller
The Atmel touch controller needs to be flashed with a configuration file in order to have a working touchscreen. The controller configuration is a one time task and it is independent from the OS, so if you have already flashed the configuration on the chip, you can skip this point. Please refer here for more info.
To flash the configuration use the mxt-app binary and the LTCTP070-3-GG_mXT1066T2_tdx_20170911.xcfg provided in the Kynetics Android for Toradex package (the versions provided by Toradex won't work on Android 7). The source code of mxt-app is available here.
NOTE: Do not rename the xcfg file.
Connect the board to the host computer, and from the host computer run the following commands:
$adb root$adb push mxt-app /data/media/0/mxt-app$adb push LTCTP070-3-GG_mXT1066T2_tdx_20170911.xcfg /data/media/0/LTCTP070-3-GG_mXT1066T2_tdx_20170911.xcfg$adb shell# cd /data/media/0/# chmod a+x mxt-app# ./mxt-app -d i2c-dev:2-004a --load LTCTP070-3-GG_mXT1066T2_tdx_20170911.xcfg# reboot
After reboot, the touchscreen will work and you are ready to enjoy Android on the i.MX6 Colibri System.
Enjoy the Art of Coding™!